1. Complete Production Tools
Tool preparation is the foundation of successful dessert making. All tools are common household kitchen utensils, among which silicone molds are most important tool, and their unique advantages are irreplaceable for jelly and pudding production.
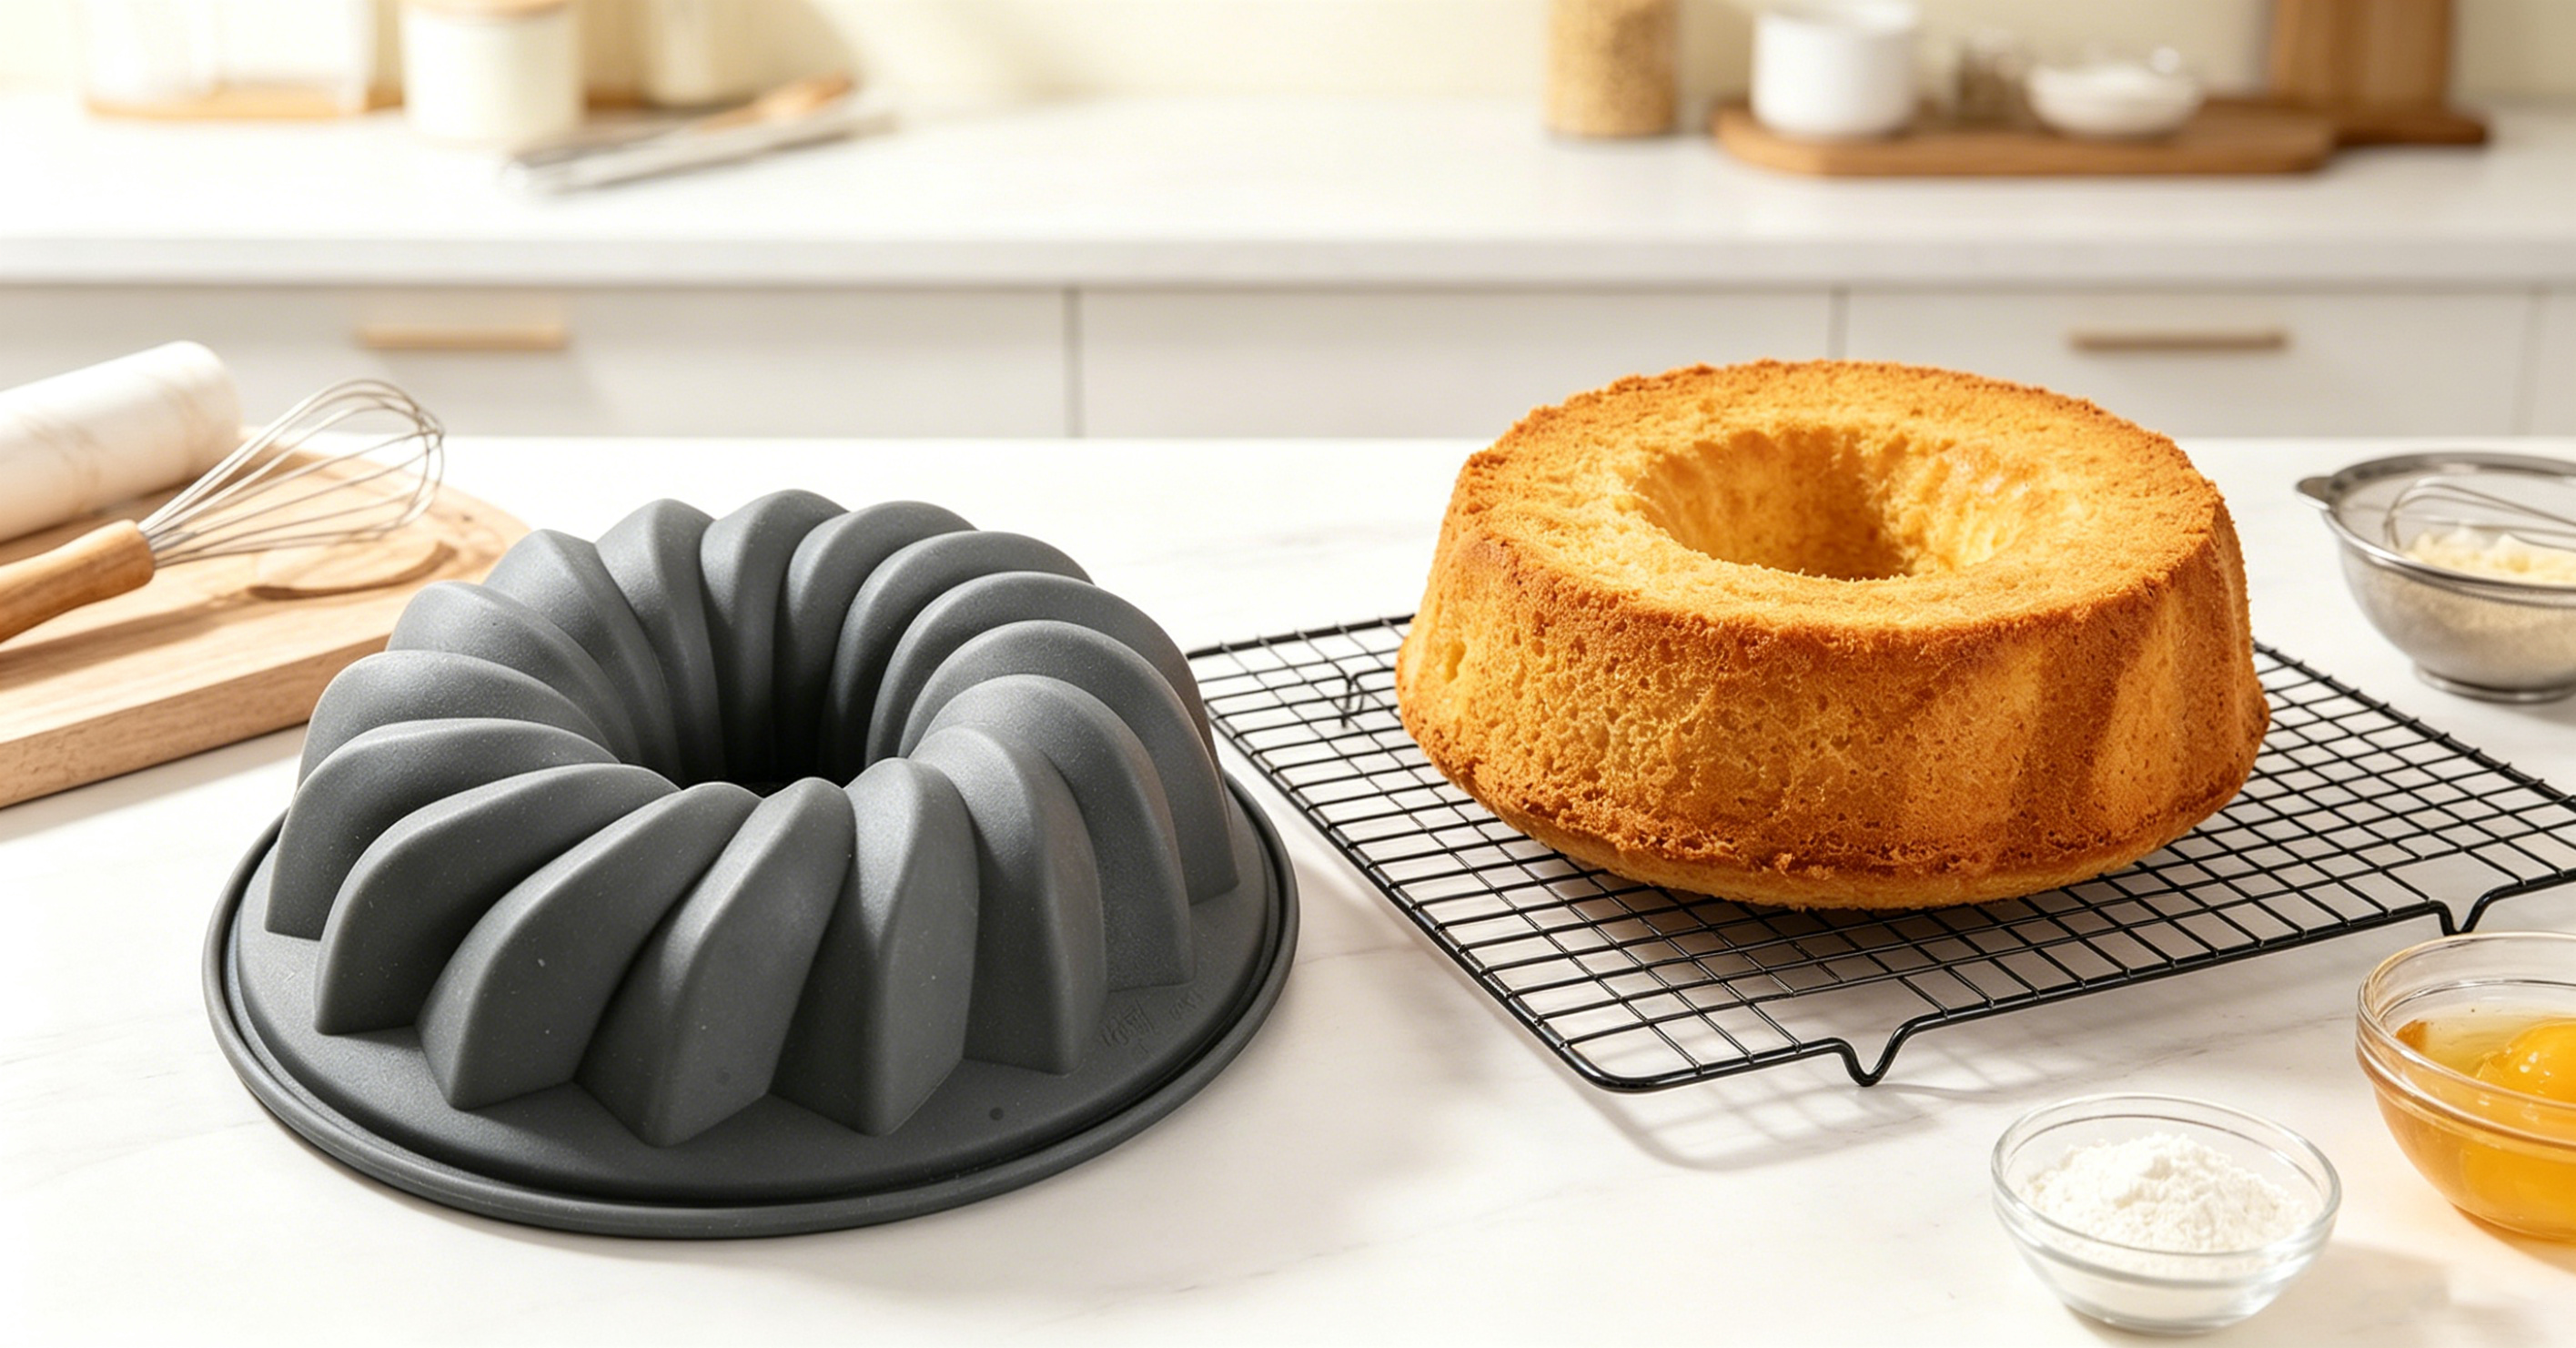
1.1 Core Tool: Silicone Molds
We recommend using food-grade flexible silicone molds (fruit-shaped, spherical, square or animal-shaped multi-grid molds), which are specially customized for jelly and pudding production. This type of silicone mold has three core advantages: First, high-temperature resistant and low-temperature resistant, adaptable to hot liquid pouring and refrigerator freezing, no deformation or cracking; Second, the inner wall is smooth and non-stick, which can realize one-piece complete demolding without scratching the surface of jelly and milk pudding, ensuring the finished product has full shape and glossy surface; Third, it is flexible and foldable, easy to clean and reusable for many times. It is strictly forbidden to use plastic molds or iron molds, which are easy to stick to the mold, and even produce harmful substances when contacting hot sugar liquid. The selected silicone mold is divided into 6-grid and 12-grid specifications, which is suitable for family portion production.
1.2 Auxiliary Tools
Induction cooker or gas stove, stainless steel soup pot (2L capacity), glass stirring spoon, silicone scraper (high temperature resistant), measuring cup, filter sieve, cutting board, fruit knife, refrigerator, clean dessert plate. All tools need to be cleaned and dried in advance to ensure no water and oil stains, so as to avoid affecting the coagulation and taste of desserts.
2. Raw Material Preparation
2.1 Ingredients for Milk Pudding Sago Dessert
Pure milk 500ml, light cream 100ml, white granulated sugar 60g, gelatin sheets 15g, sago 80g, vanilla extract 2 drops (optional). Vanilla extract can effectively remove the fishy smell of milk and enrich the flavor level of milk pudding.
2.2 Ingredients for Fruit Jelly
Fresh seasonal fruits (strawberry, mango, blueberry, kiwi) 200g, purified water 400ml, white granulated sugar 50g, gelatin sheets 12g, a little lemon juice. Lemon juice can prevent fruits from oxidation and keep the jelly color bright.
3. Detailed Production Steps & Scene Illustration Description
The whole production process is divided into sago cooking, milk pudding making, fruit jelly making and final assembly.
3.1 Cook Sago (Basic Preparation Work)
Step 1: Pour 1L of water into the stainless steel soup pot, turn on high heat to boil the water completely. After the water boils violently, pour the washed sago into the pot, and stir continuously with a glass spoon to prevent sago from sticking to the pot bottom. Turn to medium heat and cook for 15 minutes. During the cooking process, keep stirring every 3 minutes to ensure even heating.
Step 2: After 15 minutes of cooking, turn off the heat, cover the pot lid and simmer for 10 minutes until the sago is completely transparent without white hard cores. Fish out the cooked sago, rinse it twice with cold boiled water to remove the surface mucus, and drain the water for later use. Rinsing with cold water can make the sago taste more chewy.
3.2 Make Milk Pudding (Use Silicone Mold for Shaping)
Step 1: Soften the gelatin sheets. Soak the gelatin sheets in cold water for 5 minutes until they are completely soft, take them out and squeeze out the excess water for standby. Do not soak gelatin sheets in hot water, otherwise it will affect the coagulation effect.
Step 2: Pour pure milk, light cream and white granulated sugar into the soup pot, stir well with a silicone scraper, heat with low heat, and keep stirring continuously until the sugar is completely dissolved. The heating temperature should not be too high, and the milk liquid should not be boiled, so as to avoid milk delamination and affecting the delicate taste of pudding.
Step 3: After the sugar dissolves, turn off the heat, add the softened gelatin sheets, stir fully with a silicone scraper until the gelatin sheets are completely melted, drop in 2 drops of vanilla extract, stir evenly, and filter the milk liquid through a filter sieve to remove fine bubbles and impurities, making the pudding texture more delicate and smooth.
Step 4: Core operation of silicone mold use: Take the cleaned and dried silicone mold, place it on a flat desktop to keep it horizontal (to prevent liquid pouring deviation and uneven shaping). First spread a layer of cooked sago evenly on the bottom of each grid of the silicone mold, then slowly pour the filtered milk liquid into the mold grids, and fill 80% of each grid to reserve a little space for subsequent assembly. Gently shake the silicone mold up and down for 3 times to discharge the residual tiny bubbles in the liquid.
Step 5: Put the silicone mold filled with milk liquid into the refrigerator for refrigeration for 40 minutes until the milk pudding is completely solidified and shaped. The flexibility of the silicone mold can ensure that the pudding will not be squeezed and deformed during refrigeration.
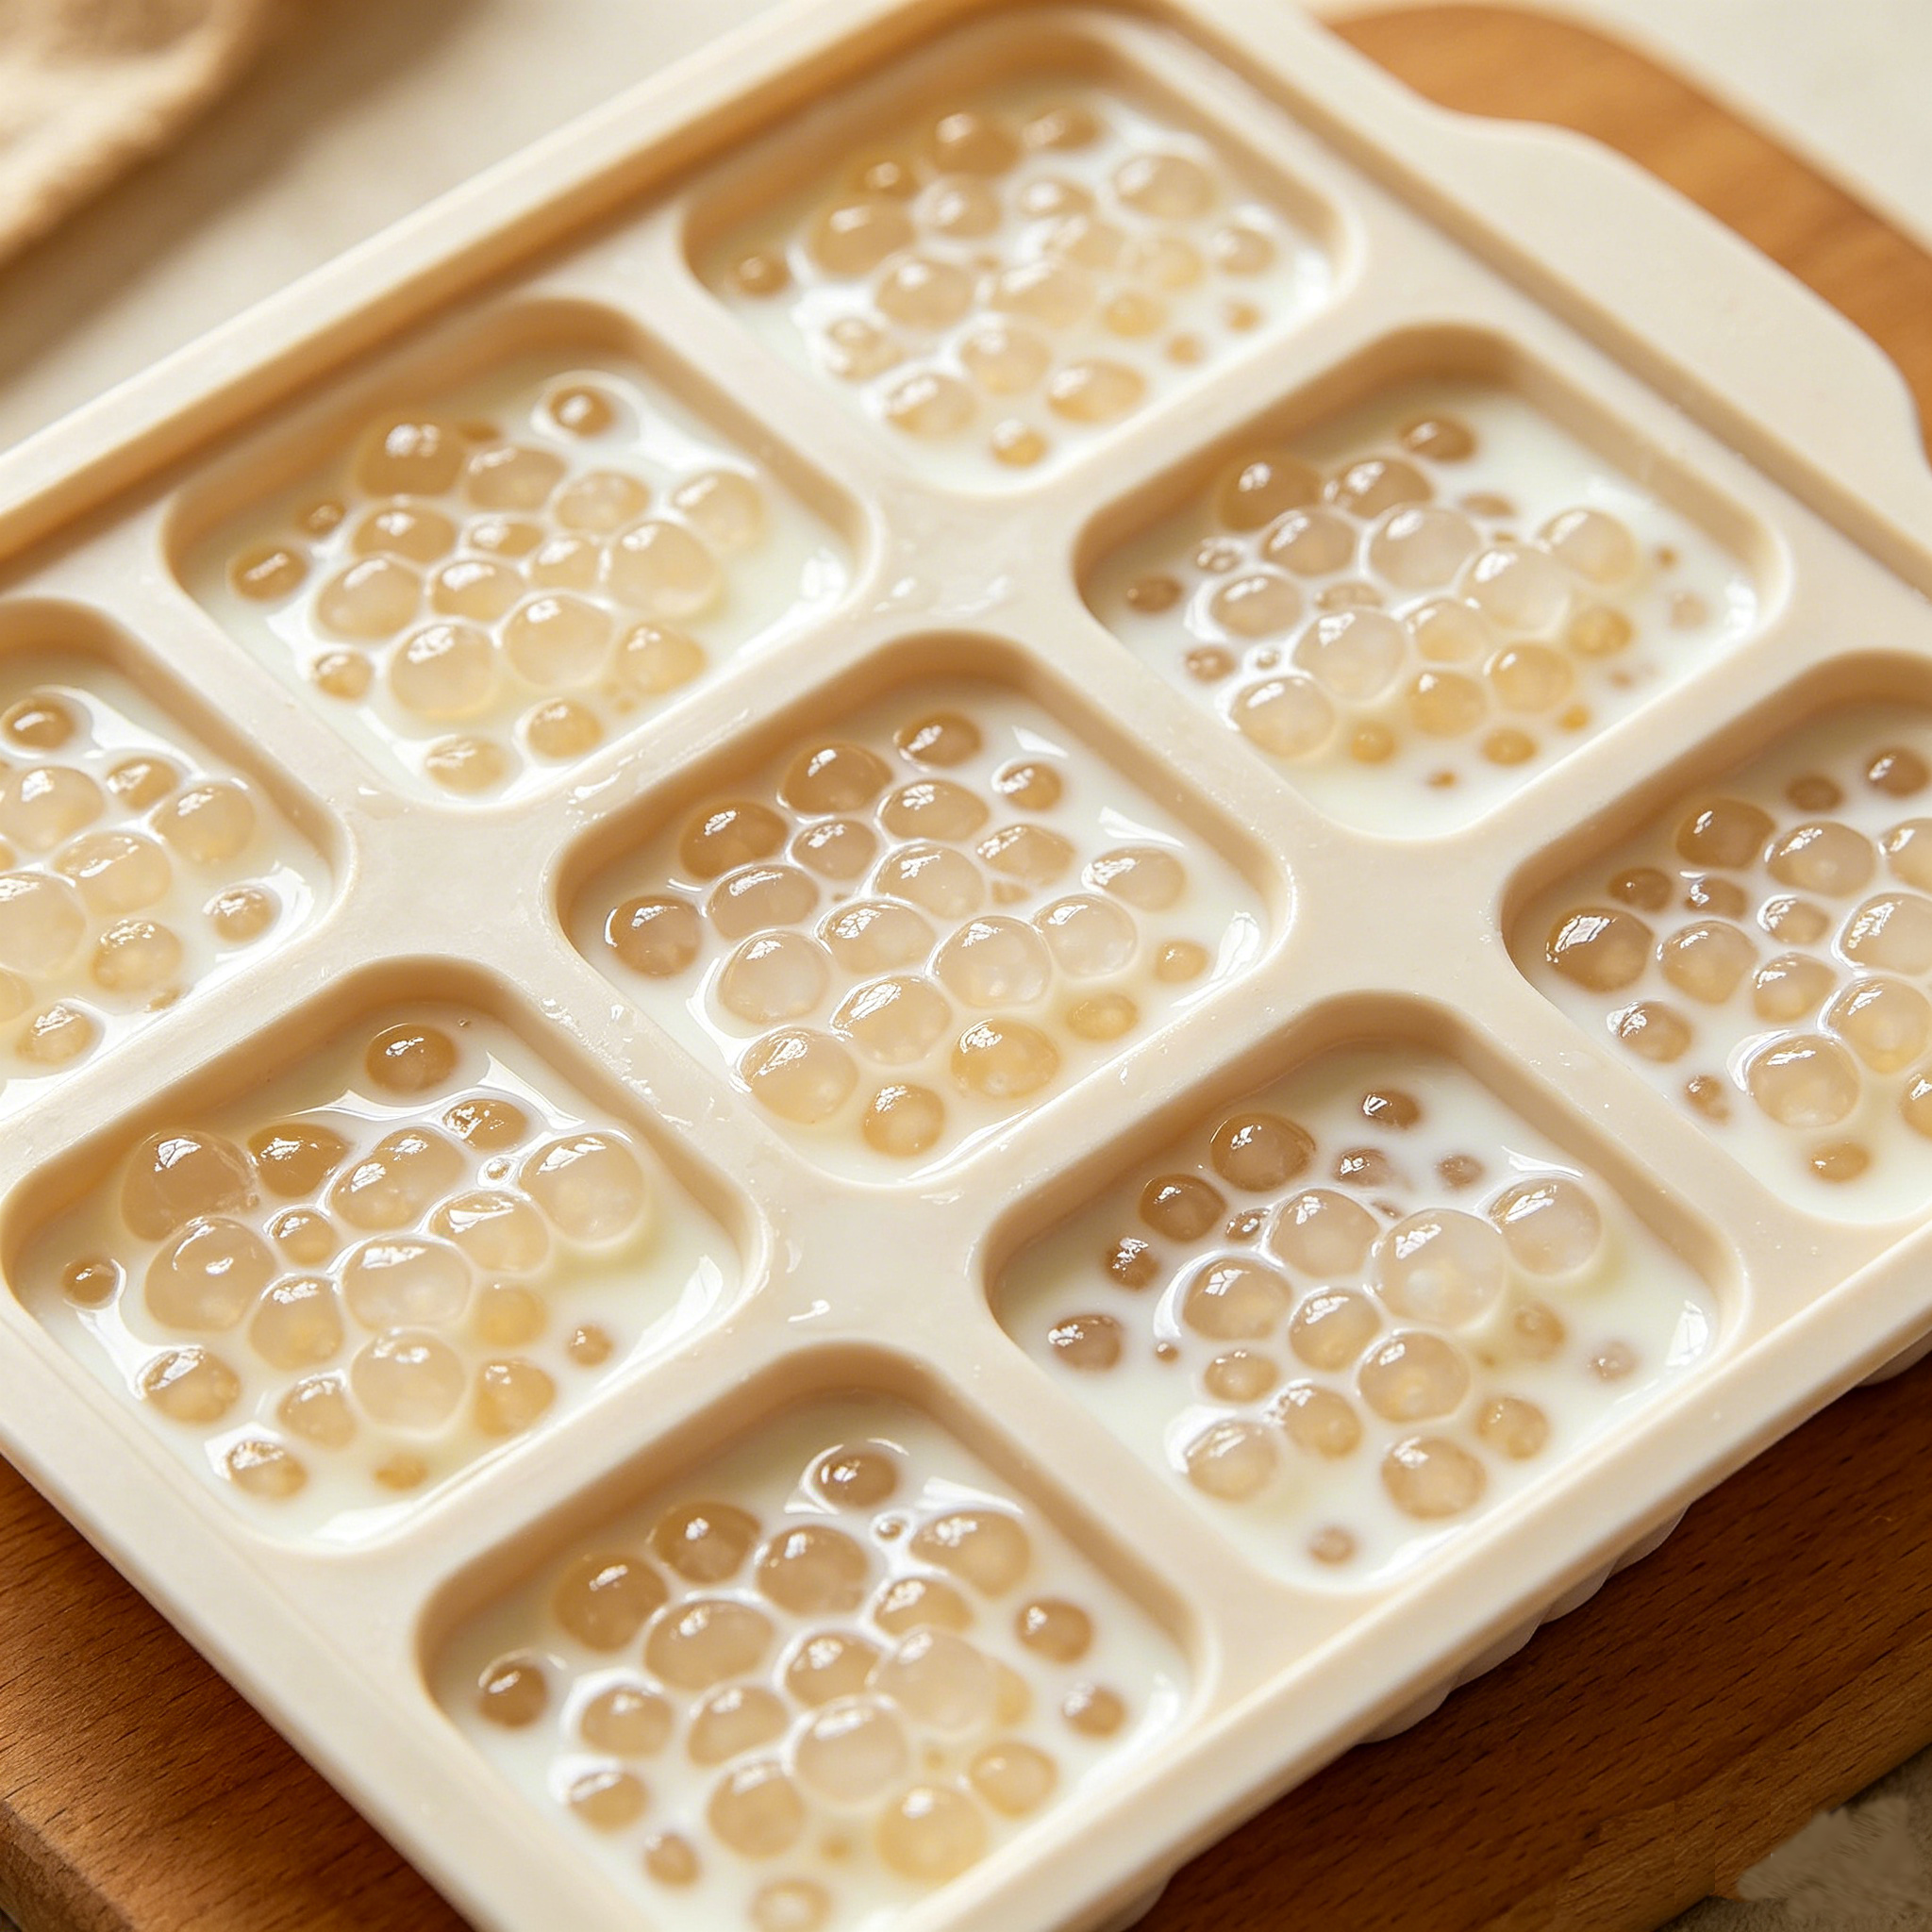
Production Scene Picture: Milk Liquid Pouring into Silicone Mold Scene - The picture shows the operation of pouring filtered milk pudding liquid into the multi-grid silicone mold, with even liquid level and neat mold placement, showing the core shaping link of silicone mold.
3.3 Make Fruit Jelly (Silicone Mold Secondary Shaping)
Step 1: Clean all fresh fruits, peel and dice mango and kiwi, remove strawberry pedicles and cut into small pieces, and keep blueberries intact for standby. Put the cut fruits into the silicone mold grids on the solidified milk pudding layer, and arrange them evenly according to personal preferences.
Step 2: Make jelly liquid. Pour purified water and white granulated sugar into the pot, heat with low heat until the sugar dissolves, add the softened gelatin sheets, stir until completely melted, drop an appropriate amount of lemon juice, stir evenly and turn off the heat. After the jelly liquid cools to room temperature, filter it once to ensure no impurities.
Step 3: Slowly pour the cooled jelly liquid into the silicone mold grids, cover the fruits and fill the remaining space of the mold grids. Again, gently shake the silicone mold to eliminate bubbles, so that the jelly liquid fully fits the fruits and milk pudding layer.
Step 4: Put the silicone mold back into the refrigerator and refrigerate for 30 minutes until the fruit jelly is completely solidified. The low-temperature resistance of the silicone mold ensures that the jelly coagulates stably without mold deformation.
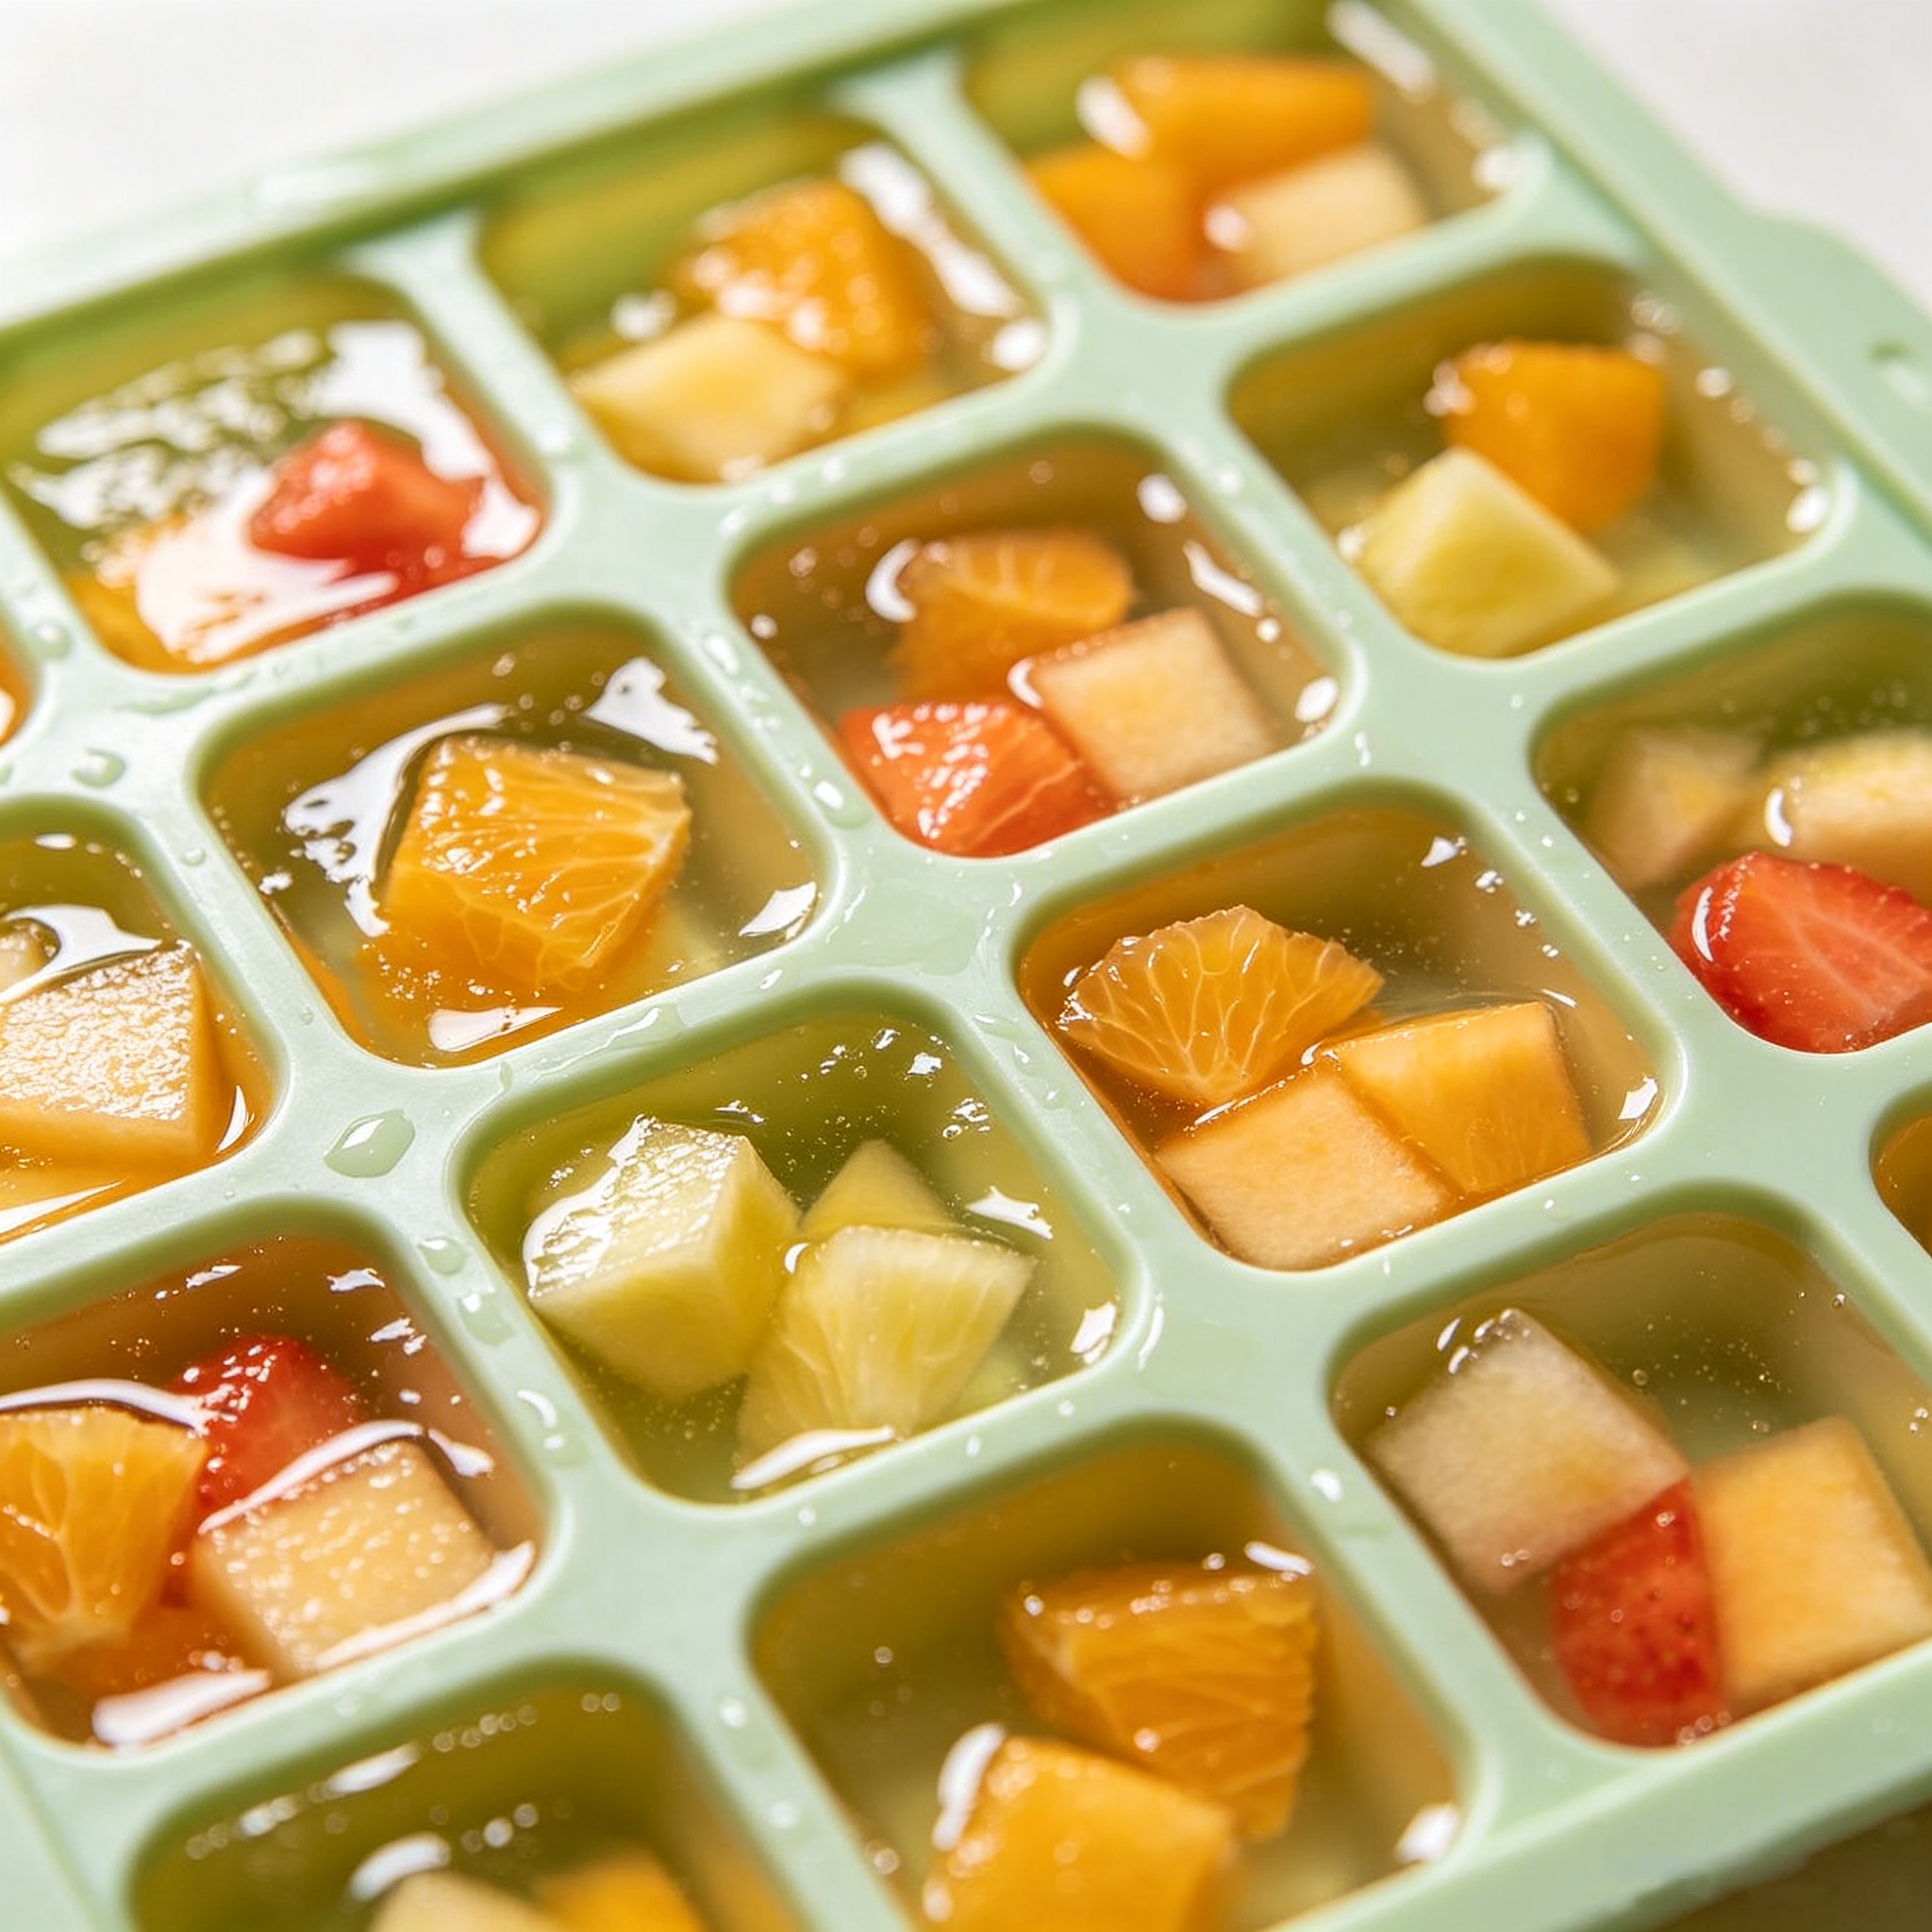
Production Scene Picture: Fruit Layout & Jelly Liquid Pouring Scene - The picture shows fresh fruit grains placed in the silicone mold and the process of pouring transparent jelly liquid, with distinct layers of fruit, milk pudding and jelly.
3.4 Demolding & Finishing Assembly
Take out the fully solidified dessert from the refrigerator. Key demolding skill of silicone mold: gently pinch the edge of each grid of the silicone mold with your fingers, slowly lift the mold edge to let air enter the gap between the dessert and the mold wall, then gently push the bottom of the silicone mold upward, and the complete layered dessert can be easily demolded. No tool assistance is needed in the whole process, and the dessert surface is smooth and intact without damage.
Place the demolded milk pudding sago fruit jelly on a clean dessert plate, and you can appropriately decorate with a little fruit grains or mint leaves according to personal preferences.
4. Production Key Tips & Silicone Mold Maintenance
First, the refrigeration time must be strictly controlled. Insufficient time will lead to incomplete coagulation and soft collapse of the dessert, while too long time will affect the fresh taste. Second, all liquids must not be boiled at high temperature, so as to avoid destroying the activity of gelatin and causing failure of non-coagulation. Third, the silicone mold must be kept dry and oil-free before use, which is the key to easy demolding. After use, the silicone mold can be cleaned with warm water and neutral detergent, dried and stored flat, avoiding extrusion and folding for a long time, which can prolong the service life and keep the mold smooth.
5. Taste Characteristics
The finished dessert has a distinct layered sense. The bottom milk pudding is mellow and smooth with rich milk fragrance, the middle sago is chewy, and the top fruit jelly is fresh and transparent with sweet and sour fruity flavor. The overall taste is rich and not greasy, refreshing and sweet, which is an ideal homemade casual dessert. The use of silicone molds makes the dessert shape neat and delicate, with high appearance, suitable for daily eating and guest entertainment.