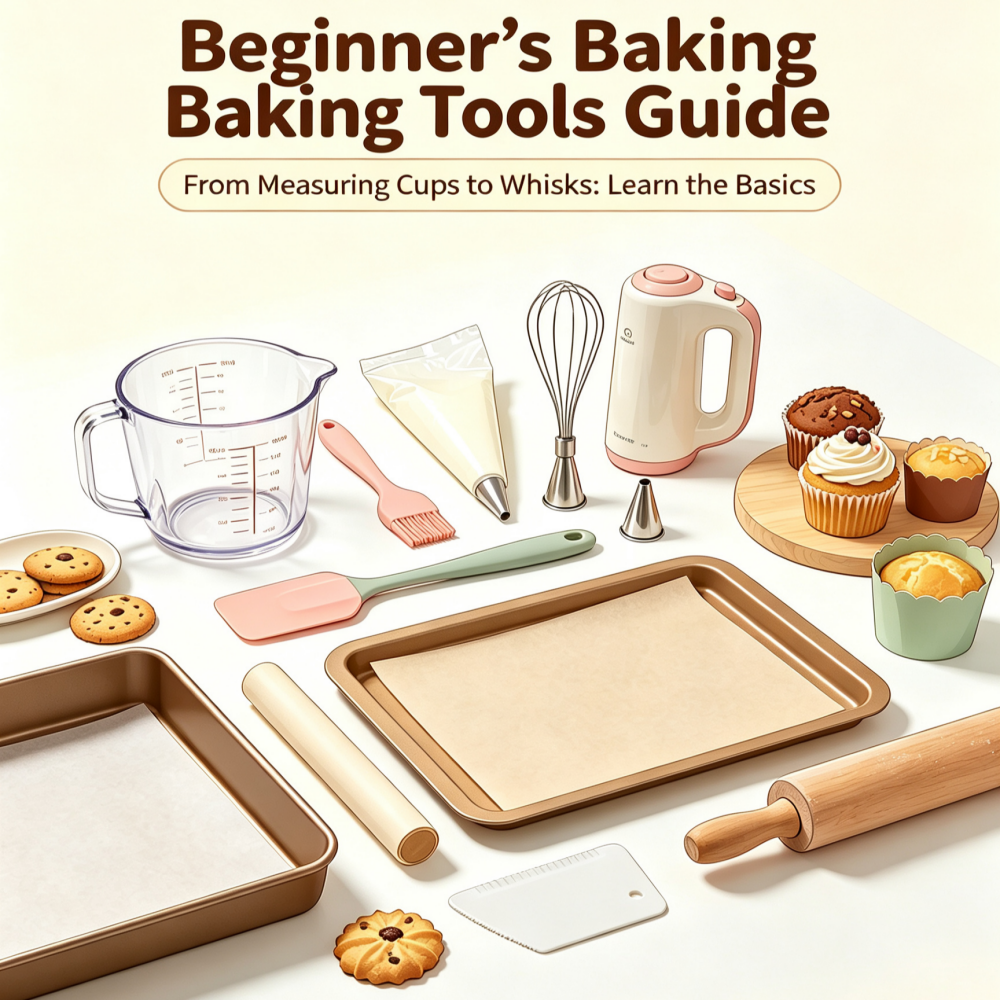
Part 1: Core Mandatory Baking Tools (Works for Cookies, Cakes & All Simple Bakes)
This set of tools forms the foundation of every homemade baking, achieving affordable entry-level baking with affordable measuring cups and manual egg beaters.
1. Dry & Liquid Measuring Cup Set (The Most Critical Baking Tool)
Core Purpose
Accurately portion all dry raw materials (flour, granulated sugar, cocoa powder, baking powder) and liquid ingredients (milk, vegetable oil, vanilla syrup). Unlike rough visual estimation, standard measuring cups guarantee stable batter texture and consistent finished taste, solving the biggest beginner pain point of random ingredient amounts causing baking failures.
Step-by-Step Standard Usage
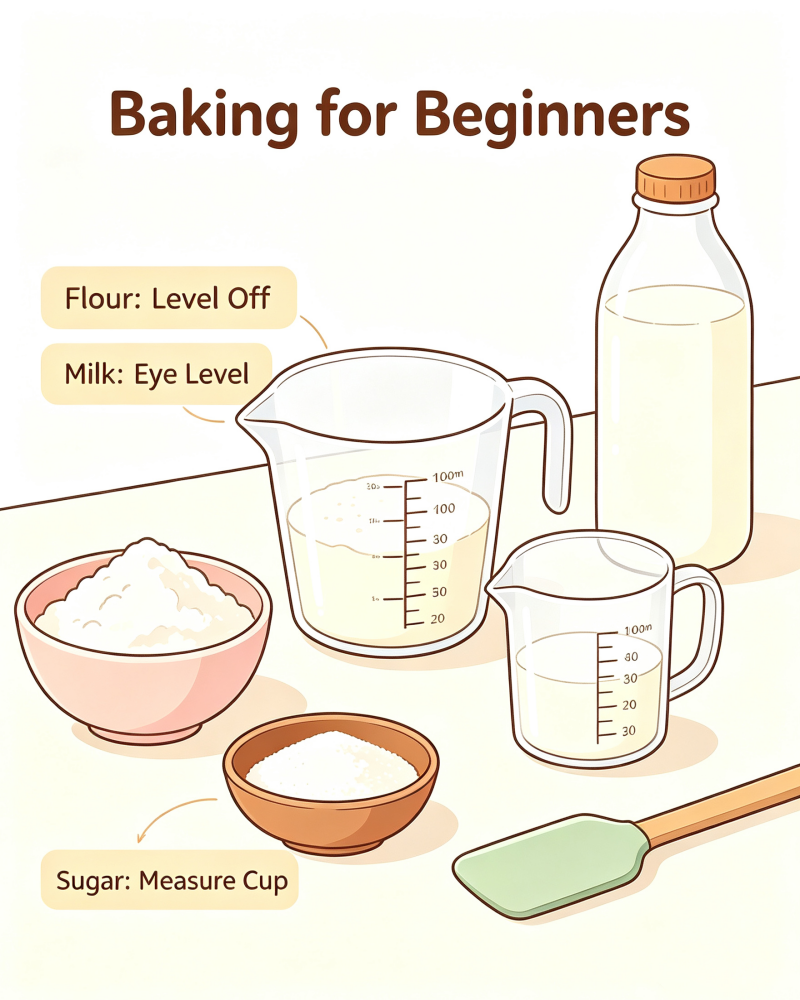
- Distinguish cup types strictly: Stackable dry measuring cups (1 cup, ½ cup, ¼ cup) are for solid powders and grains; transparent liquid measuring cups with spouts and volume marking lines are only for milk, oil, melted butter and water. Never swap the two types.
- Measure dry ingredients: Scoop flour or sugar directly into the cup until it overflows the rim, then scrape the excess flat with the straight edge of a silicone scraper. Do not press or compact powder inside the cup—packed flour creates dense, heavy cake crumbs.
- Measure liquid ingredients: Place the liquid measuring cup on a flat countertop, pour fluid slowly until the liquid surface aligns perfectly with the target volume line at eye level. Tilting the cup will lead to under-measurement and uneven batter consistency.
- Batch ingredient mixing trick: Add each material one by one into your mixing bowl, record cup volumes clearly as you follow the recipe, and avoid combining all raw materials blindly without precise measurement.
Common Newbie Mistakes to Avoid
- Do not rely on random household mugs or bowls as substitutes for standard measuring cups—irregular sizes create huge measurement deviations that ruin soft cake rise and cookie crispness.
- Skip heaped cup measurements. A single overflowed cup of flour can turn fluffy cupcakes into solid, chewy blocks with zero softness.
- Do not fill liquid cups while holding them in your hand; height distortion will misread the liquid level and disrupt the recipe’s chemical balance.
2. Manual Hand Whisk
Core Purpose
Stir the batter evenly, emulsify the egg mixture, mix butter and sugar, and it is easier to control the stirring rhythm and intensity when stirring light cream or egg whites. It perfectly handles small batch home baking, with zero machine noise, more even stirring, and the resulting batter will be more delicate.
Tiered Usage Skills for Different Baking Scenarios
- Basic batter blending (muffins, cookie batter): Hold the whisk handle firmly, draw horizontal Z-shapes and figure-8 motions in the bowl to break down flour clumps rapidly. Keep strokes gentle to prevent splashing sticky batter onto countertops.
- Creaming butter and sugar for cookies: Press the whisk’s wire loops against the bowl bottom, rub back and forth repeatedly to incorporate air into softened butter and granulated sugar. Continue stirring until the mixture turns pale yellow and fluffy—this step ensures cookies spread evenly in the oven without hardening.
- Whipping egg whites for sponge cake: This is the most labor-intensive but rewarding use of a manual whisk. Start with slow circular stirs to break raw egg whites into thin foam, then speed up wrist rotation to create dense, stable small bubbles. Pause every two minutes to shake off accumulated egg foam on the whisk wires, and keep whipping until stiff upright peaks form on the whisk’s tip.
- Mixing custard fillings: Use slow, steady circular motions to stir simmering milk and egg mixture, stopping every few seconds to scrape bowl walls with a silicone scraper to avoid burnt lumps at the bowl bottom.
Rookie Warning Tips
- Do not perform fast circular stirring continuously for more than five minutes when whipping egg whites—take short breaks to avoid wrist soreness and uneven foam formation.
- Never use the manual whisk to knead thick bread dough; the thin wire loops will bend and deform under heavy dough pressure.
- Rinse the whisk right after finishing mixing before batter residue dries and sticks tightly into wire gaps.
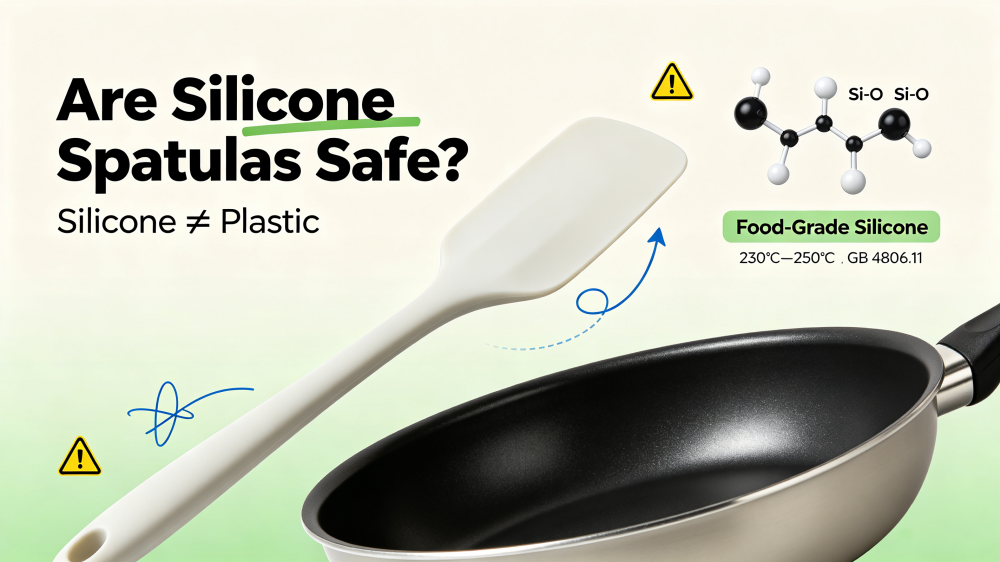
3. Flexible Silicone Soft Scraper
Core Purpose
Fold cake batter, scrape residual flour and cream stuck on mixing bowl walls, remove thick batter from bowl bottoms, and gently deflate excess air bubbles in sponge cake mixtures. No other tool can replicate its gentle stirring motion that prevents gluten formation in low-gluten cake flour.
Standard Correct Folding Technique (90% of Beginners Execute This Wrongly)
- Insert the scraper straight down the center of the batter bowl until its edge touches the bowl’s base.
- Press the scraper flat against the bowl’s inner wall, lift upward from the bottom to fold thick batter over the top liquid layer.
- Rotate the mixing bowl a quarter turn with your other hand after each fold, repeating the cut-and-lift motion consistently.
- Strictly avoid circular stirring with the scraper—circular movement activates gluten in flour, which causes cake collapse, shrinkage and tight, dense crumbs after baking.
Applicable Baking Scenarios
Sponge cakes, cupcakes, mousse bases, all delicate fine batters that demand soft, bubble-preserving mixing without over-developing flour gluten.
Part 2: Shaping & Molding Tools (Exclusive for Cookies, Cakes & Decorative Desserts)
This category contains all tools used to shape raw batter into neat, uniform baked goods, covering daily household baking needs from simple flat cookies to layered celebration cakes.
1. Piping Bags + Multi-Style Piping Nozzles
Core Purpose
Squeeze cookie dough onto baking trays, pipe cupcake batter into paper liners, fill hollow puffs, and decorate cooled cakes with whipped cream borders and patterns. A small set of nozzles unlocks dozens of decorative styles without advanced pastry training.
Common Nozzle Types & Matching Usage
- Round smooth nozzle: Dispense fluid cupcake batter, fill hollow cream puffs, and write simple text decorations on finished cakes.
- Serrated star nozzle: Create classic wavy cookie outlines, ruffled cream borders and layered decorative swirls on cupcakes.
Step-by-Step Bag Filling Guide
- Snip a small triangular opening at the piping bag’s narrow tip, slide the selected metal nozzle fully through the cut hole until the nozzle’s base locks against the bag’s inner wall.
- Flip the top wide edge of the piping bag outward over your palm to form a cuff, stopping thick batter from dripping out during filling.
- Scoop cookie dough or whipped cream into the bag’s cavity with a silicone scraper, fill to three-quarters capacity to leave room for squeezing pressure.
- Twist the bag’s open top tightly multiple times, pinch the twisted section firmly with one hand while squeezing batter out from the nozzle with light downward pressure from your other hand.
Beginner Practical Hacks
Wash piping bags thoroughly after every use and hang them open to air-dry completely—trapped residual cream and dough will turn moldy if folded and stored damp. Disposable plastic piping bags are ideal for infrequent bakers to skip tedious deep cleaning.
2. Rectangular Flat Baking Tray
Core Purpose
Bake chocolate chip cookies, butter biscuits, snowflake crisp candy, roasted nuts and flat sponge cake rolls. Its flat, even surface guarantees uniform heat distribution across all small baked items on the tray.
Standard Baking Operation Rules
- Arrange raw cookie dough blobs with generous gaps between each portion; overlapping dough will fuse together during baking as butter melts and spreads the cookies outward.
- Always place the tray on the oven’s middle rack for balanced top and bottom heat exposure, avoiding uneven dark browning on tray edges and undercooked centers.
- Do not pile multiple layers of batter or dough onto one tray—thick stacked layers trap heat and create raw, underbaked centers.
3. Parchment Paper & Aluminum Foil
Parchment Paper (High Heat Resistant Baking Paper)
Core Purpose
Create non-stick surfaces on baking trays, eliminating the need to coat trays with oil before baking cookies, cake rolls and crisp candy. It also simplifies cleanup by catching crumbs and melted sugar residue.
Usage Tips
Cut parchment paper to match the baking tray’s exact dimensions and lay it flat without wrinkles before placing raw dough on top. Wrinkled paper creates uneven cookie bottoms with indentations.
Aluminum Foil
Core Purpose
Block excessive oven heat to prevent surface burning, wrap thick baked goods for slow even cooking, and cover partially baked cakes to stop top browning before the center cooks through.
Usage Rule
Place foil with its shiny reflective surface facing upward and the matte dull side touching raw food—this maximizes heat reflection and avoids uneven charring on baked goods’ tops.
Part 3. Dedicated Cake Baking Tools (For Sponge Cakes & Simple Cheesecakes)
1. Removable Bottom Springform Cake Pan (6-inch & 8-inch Sizes)
Core Purpose
Bake tall sponge cakes, naked layer cakes and no-bake cheesecakes. The detachable bottom design enables clean, intact cake removal without damaging delicate cake sides, perfect for beginners who struggle with tricky fixed pans.
Critical Usage Guidelines & Absolute Taboos
- Sponge cake batter must never touch oil or parchment paper on the pan’s inner walls. The cake batter needs friction against the metal sides to climb upward and rise tall in the oven; greased walls will cause severe cake collapse and zero vertical growth.
- Immediately flip the entire cake pan upside down on a flat countertop right after removing it from the oven. Leave the cake inverted until fully room-temperature cool—this prevents the warm sponge cake from sinking under its own weight and forming a sunken flat top.
- Only separate the removable pan base once the cake reaches complete coolness; warm cake structure is fragile and will tear apart during premature demolding.
Part 4. Bread & Homemade Pastry Tools
Core Diverse Functions
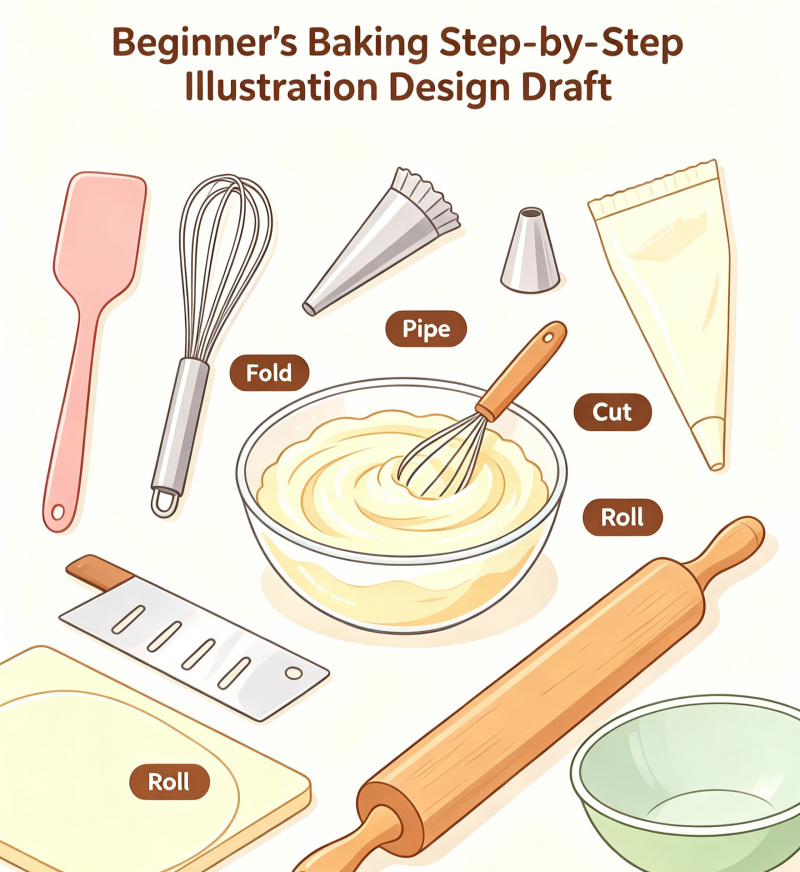
- Divide large bread dough into equal small portions, slice cooled snowflake crisp candy into neat square blocks, and cut soft butter blocks without sticking.
- Scrape leftover flour and dough residue off countertops after kneading, eliminating stubborn sticky flour buildup on table surfaces.
- Fold and shape loose dough into uniform rectangular blocks for even rolling with a rolling pin.
Usage Advantages
Its smooth flat plastic edge cuts dough cleanly without stretching or deforming soft yeast dough, ensuring identical portion sizes for consistent bread baking results.
Core Purpose
Roll out thin cookie dough sheets, tart crust bases, pizza bottoms and flattened bread dough to release trapped air bubbles before shaping loaves.
Even-Thickness Rolling Technique
Start rolling from the dough’s exact center outward toward the left and right edges alternately, rotating the dough 90 degrees every few rolls to maintain an even flat sheet with matching thickness across the entire surface. Avoid heavy one-sided rolling that creates lopsided, uneven dough layers with thin broken edges.
Part 5. Compact Tool Combination Guide for Different Baking Goals
Minimal Kit for Only Cookies & Cupcakes
Measuring cup set + fine wire manual whisk + silicone scraper + piping bag & star nozzles + rectangular baking tray + parchment paper
Extended Kit for Sponge Cakes & Layered Desserts
Add 6-inch springform cake pan to the minimal cookie kit
Full Home Kit for Bread, Cookies & Cakes All-in-One
Add plastic dough scraper and wooden rolling pin to the sponge cake extended kit
Part 6. Final Beginner Avoidance Summary
- Baking success relies 70% on proper tool operation and 30% on precise recipe proportions; accurate measurement via standard measuring cups is always your first priority.
- All delicate cake batter must be folded gently with a silicone scraper—never use circular stirring motions that trigger gluten formation and cake shrinkage.
- Every cake and cookie must cool completely after baking before packaging or decorating; warm baked goods trap internal moisture and turn soggy quickly in sealed containers.
- Clean all silicone, metal and wire baking tools right after finishing baking tasks. Dried batter and cream residue harden over time and become extremely difficult to scrub off fully later.