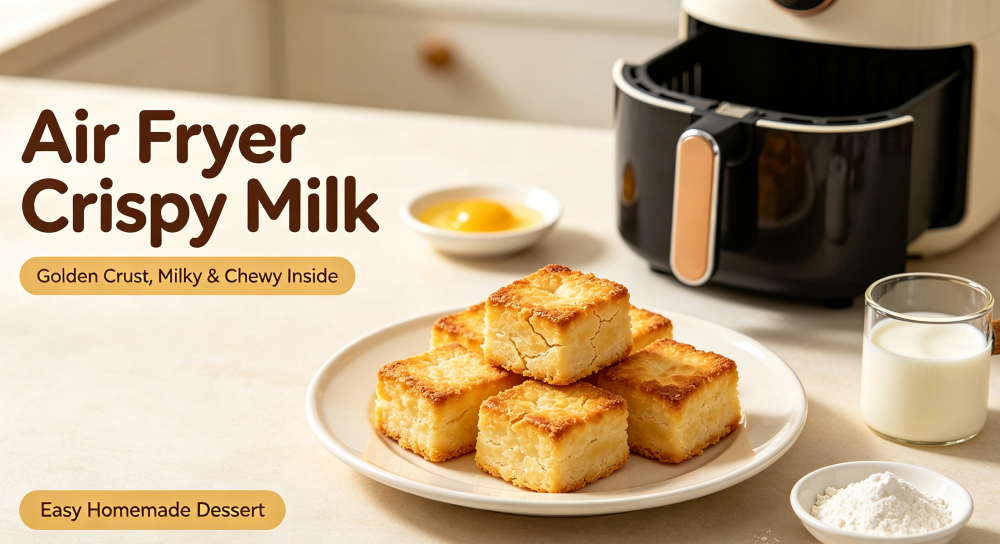
If you are obsessed with stretchy, soft, melt‑in‑mouth chewy desserts and hate complicated oven‑required baking workflows, today’s fool‑proof fresh‑milk mochi recipe is tailor‑made just for you. As a total home‑kitchen enthusiast who loves fast, low‑hassle sweet treats, I have refined this straightforward mochi formula countless times. It calls for merely three cheap everyday ingredients, requires zero oven, specialised baking moulds or tricky whipping steps.
There is pure magic in every soft, pull‑able bite of homemade fresh milk mochi. Store‑bought sticky rice desserts often contain excessive additives and overly‑sweet flavouring. When you cook mochi yourself at home, you get pure, rich creamy milk flavour paired with warm nutty roasted soybean powder. Once you pull apart one piece, its satisfying long stretch will instantly win your heart. This comforting snack suits lazy weekend afternoons, quick breakfast bites, post‑work sugar fixes, children’s after‑school treats and small‑scale friend get‑togethers. It takes less than 20 minutes from ingredient preparation to finished edible dessert, which is absolutely ideal for busy home cooks.
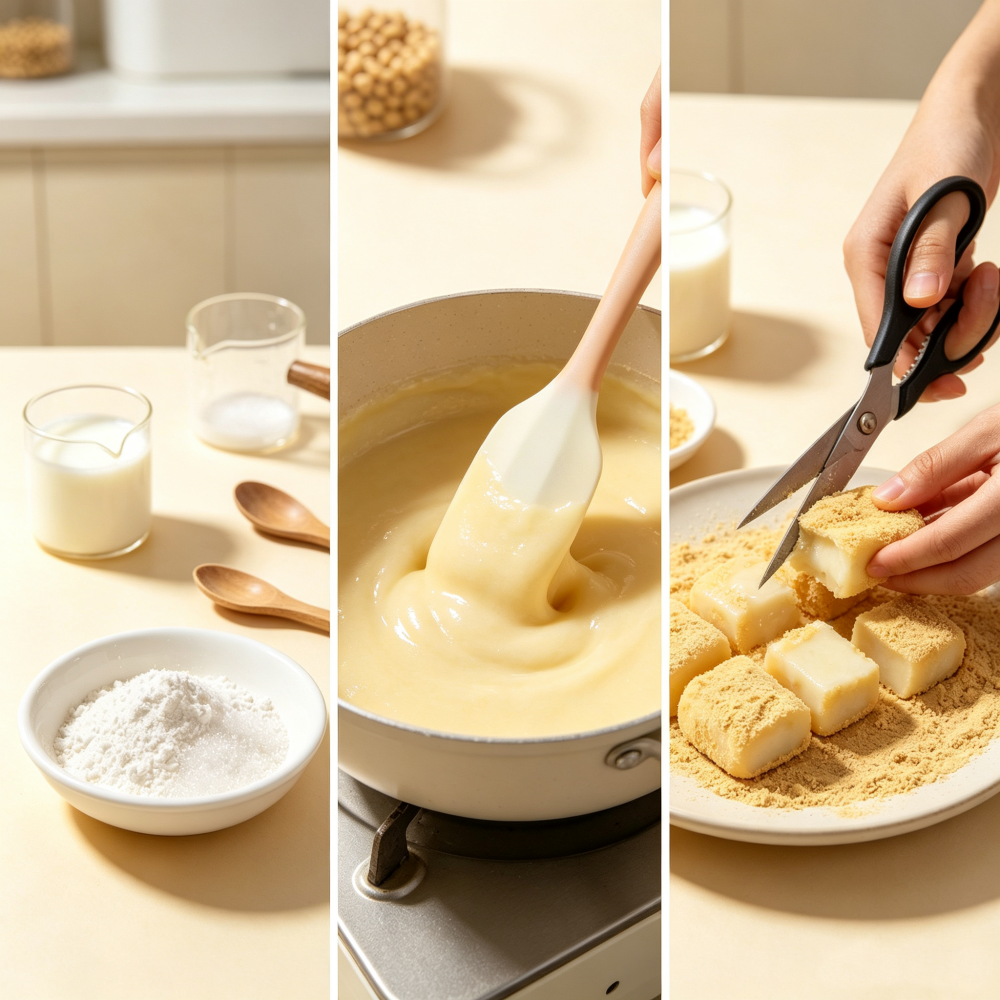
Let’s go through our ultra‑short ingredient checklist right now. You will need 200 grams of whole fresh milk, 20 grams of tapioca starch, also well‑known as cassava starch, and 15 grams of fine white granulated sugar. That is every single supply you need! I adore working with tapioca starch for my milk mochi, since tapioca creates that iconic elastic, stretchy and bouncy texture regular glutinous rice flour struggles to replicate. If you would like a richer flavour, full‑fat dairy milk works best; skim milk can be used when you prefer a lighter taste. For the outer coating, prepare roasted fine soybean powder. Dry milk powder acts as a fantastic budget‑friendly substitute when soybean powder runs low in your pantry. No other fancy supplies are needed.
Now let’s dive into my detailed, beginner‑orientated cooking workflow, and I will walk you through every single simple stage. Grab your cooking pot and pour in your pre‑measured whole milk, tapioca starch and white sugar. Take a hand whisk and stir the liquid mixture thoroughly until the sugar and starch fully dissolve. Keep whisking until no stubborn starch lumps remain floating inside your milky batter. Undissolved starch chunks will create grainy, bumpy mochi texture, so spend extra time breaking every lump apart before you start heating your pan.
Next, turn your stovetop down to low‑only heat. Continuous stirring is non‑negotiable during the whole heating process. Do not walk away from your saucepan. The starchy milk mixture sticks and burns on pan bottoms extremely quickly. Keep swirling your whisk across every section of the pot base as the batter slowly warms up. Little by‑little, the runny liquid will thicken, turn glossy, thick and pull‑able. After several minutes of constant low‑heat stirring, you will end‑up with one smooth, thick, stretchy translucent paste that pulls cleanly away from the saucepan walls. At this point, switch your stove heat off. Your basic mochi base is officially done.
Get your plate ready and spread a thick even bed of roasted soybean powder all over its flat surface. Carefully lift your hot glossy sticky mochi paste out of the saucepan and dump it right onto your soybean‑powder‑covered plate. The soybean powder serves two essential jobs: it stops your ultra‑sticky fresh mochi from sticking all over your dish and fingers, and it adds that signature warm nutty taste contrast against the mild sweet milk mochi. If your skin is sensitive to high temperatures, wait 2‑3 minutes for the sticky mass to cool to a safe warm‑to‑touch temperature before handling it.
Once the mochi is cool enough, flatten the whole round sticky block evenly on the powder‑dusted plate. Then grab clean kitchen scissors and snip the large mochi slab into multiple small bite‑sized chunks, just like cutting a round cake into triangular slices. Every cut piece then gets thoroughly rolled and coated on all sides with extra soybean powder. Every surface of the soft mochi chunk should carry a fine dusting, so the sticky pieces do not glue together inside your serving dish.
Now comes my favourite satisfying moment: pick‑up one finished mochi piece and gently pull it apart. You will witness that gorgeous long, elastic stretch from the silky milk interior, while the outer soybean‑powder layer balances the soft, sweet stickiness with earthy nutty flavour. The taste profile is wonderfully gentle and milky, not cloyingly sugary at all. You can freely customise your homemade mochi according to your personal flavour preferences. Swap the soybean dust for sweet milk powder, matcha powder, cocoa powder or crushed peanut crumbs. You are also able to wrap small dollops of red bean paste, fruit jam or whipped cream inside each mochi chunk for hidden sweet fillings.
One of the greatest perks belonging to this fresh milk mochi recipe is its incredible beginner‑friendly forgiving nature. Unlike traditional steamed glutinous‑rice mochi, there is no steaming, lengthy kneading or complicated ingredient ratios. Your three core ingredients are widely available from every local grocery shop. The only two key cooking rules you must remember are stirring non‑stop on low heat to avoid burnt starch and coating every mochi surface with anti‑stick powder. Even if your first‑time paste ends‑up a little runny or thick, you can still shape it into edible, delicious chewy bites.
As a home‑living hobbyist who loves simple homemade comfort food, I truly believe easy no‑bake snacks such as fresh milk mochi bring so much warm joy to ordinary weekdays. There is such lovely satisfaction in crafting a soft, stretchy dessert from three basic kitchen staples, without relying on store‑bought processed sweets. This snack is excellent for sharing with family members, surprising your room‑mates or treating yourself during relaxing downtime.
When your sweet‑tooth craving kicks‑in next time, skip the pre‑packaged desserts. Grab your milk, tapioca starch and sugar, spend twenty minutes stirring up a batch of warm fresh milk mochi, and enjoy the amazing chewy, silky, milky homemade treat. Once you try this straightforward recipe, it will absolutely turn into your permanent go‑to quick no‑bake home dessert.